Jun 10, 2025
Video To Blog Review: Unboxing a Game-Changer for Content Creators
In this Video To Blog Review, let’s unbox an incredible tool that transforms a video into a blog post within a matter of minutes and moments. I bought the siftware and made the video without looking at any instructions.
I wanted to find out how intuitive it is and how easy it is to use. Also to see what the output is like and how easy it is to edit and export the content once it's created.
This article is generated from that video using the software itself too!
🎥 Introduction to Video To Blog
Video To Blog software is a groundbreaking software for content creator to put the video you already made into words and create blog articles in seconds. If you want to create or repurpose content at speed, this could be a very useful tool for you.
As the demand for content is constantly increasing, you can channel your videos (or anybody's video, actually) in to articles or pdf reports to reach a wider audience and improve your SEO. A lot of people tend to consume content in different forms e.g. video or written, so having both contents on your website will cater for a huge part of your audience.
Great for those who find writing challenging or like to save time, But can this AI tool quickly convert a video into a post that looks like you’ve spent all day typing it?
Let's see.
💳 Purchasing the Software
Converting videos into blog posts is promised to be easy with the Video To Blog software. A lifetime deal is available on AppSumo at the time of writing but, if you miss that, the software is pretty inexpensive to have on subscription.
Consider your content needs before committing to purchase; the basic plan covers just a few blog posts per month, which may be a good way to start to ensure you like the software – if you do, you can easily go for a higher tier for more options and capabilities.
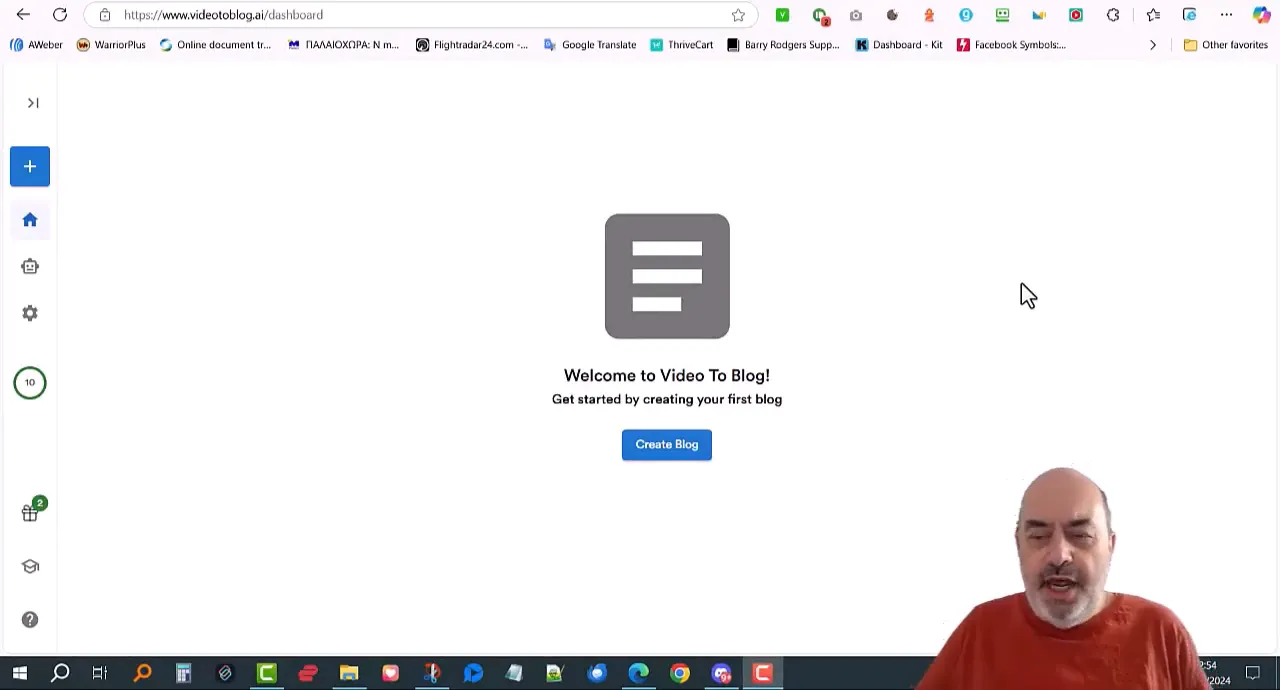
Then after the purchase is completed you will be welcomed to the ‘Dashboard’, The interface is both intuitive, minimalist and clear, allowing for an easier journey as you start using it.
📊 Dashboard Overview
This dashboard is the center of your Video To Blog universe. When you first log in, you'll see a friendly first-login guide that presents and explains some of the different features of your account.
Up there you have your account info where you can see the plan you are in now and stats as well (that’s key information about your limits for your blog posts and your editing capacity).
Also, the dashboard has a tutorial and support button on it, which connects you to tutorials and support resources, so you can learn about the features of the software you are using. I just jumped in and started using it without looking at the tutorials as I wanted to discover how intuitive it is for anyone to use.
🛠️ Choosing the Right Plan
The service Video To Blog provides a couple of pricing tiers, as it seems different users have different needs. The basic package allows just a limited amount of blog postings per month – this is probably enough for occasional users or those having just started using the service.
- Basic Plan: Ideal for individuals or small businesses with occasional content needs.
- Pro Plan: Offers a higher limit on blog posts and additional features, suitable for regular content creators.
- Enterprise Plan: Designed for larger organizations with extensive content requirements, providing unlimited access and advanced functionalities.
Which plan you pick will depend on your content strategy and how often you end up wanting to ‘flip’ a video into a blog post. If you want to try the product out before you commit to a higher tier, start with the entry-level.
🔍 Finding a Video to Convert
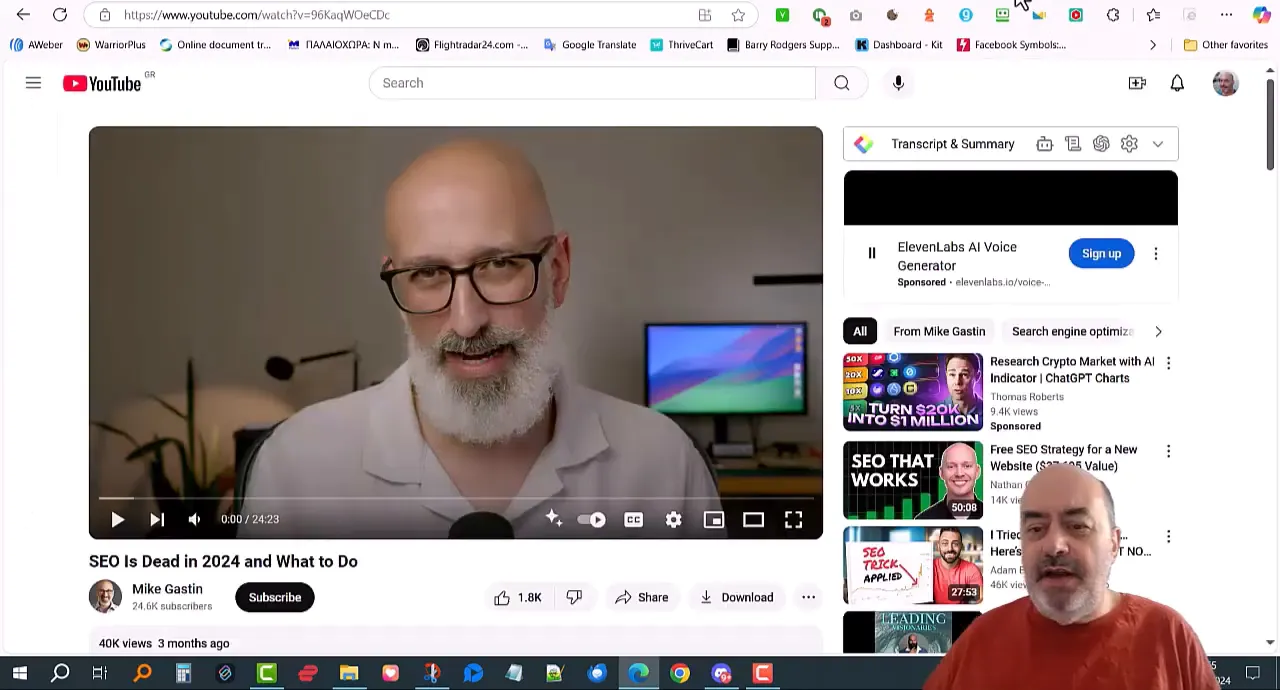
After picking a plan, and logging into the dashboard, you’ll be ready to find a video you want to convert into a written blog post. It can be a video from YouTube, Vimeo, or your own library.
First you copy the URL of the video.The software examines the video and provides you with the necessary information which you can use to compose a blog post that summarises and adds value to the content in the video.
Preferably with some concrete takeaway or information to explore further in a blog or written format. Clear, interesting content that might have an appeal to your audience.
📝 Creating a Blog from a YouTube Video
Probably the most distinctive feature of Video To Blog is that simply giving it the link to your YouTube video, it will automatically produce a draft based on the contents.
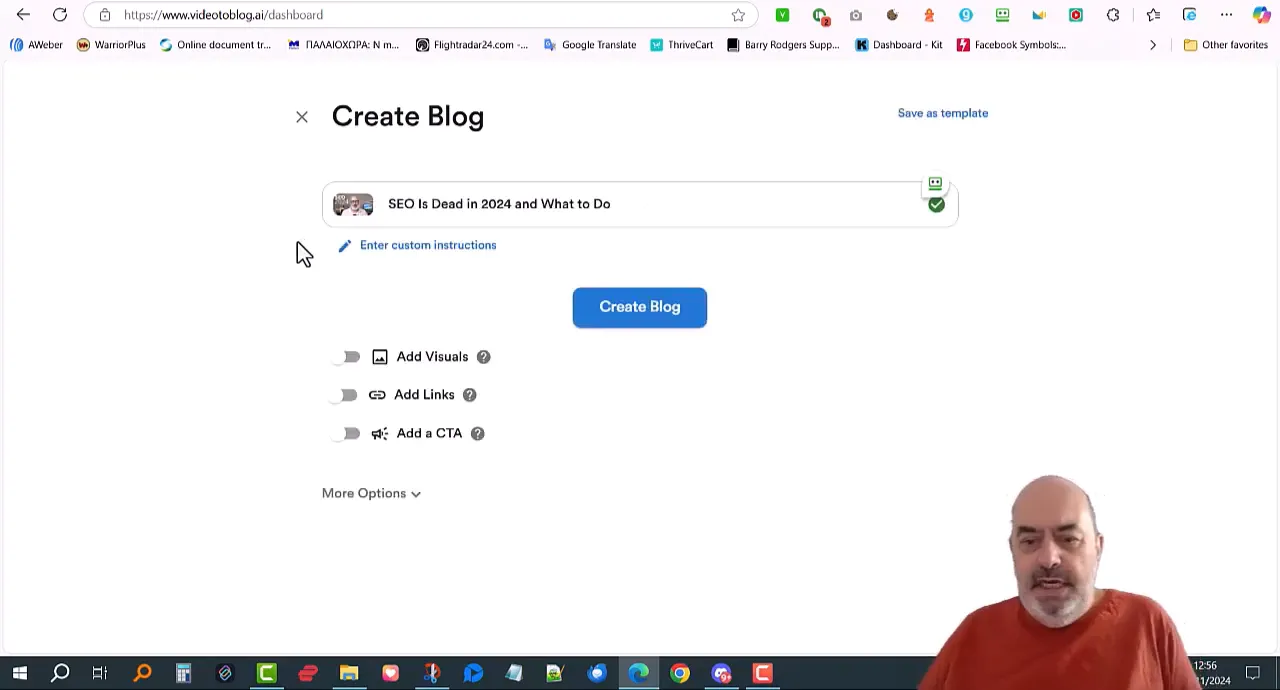
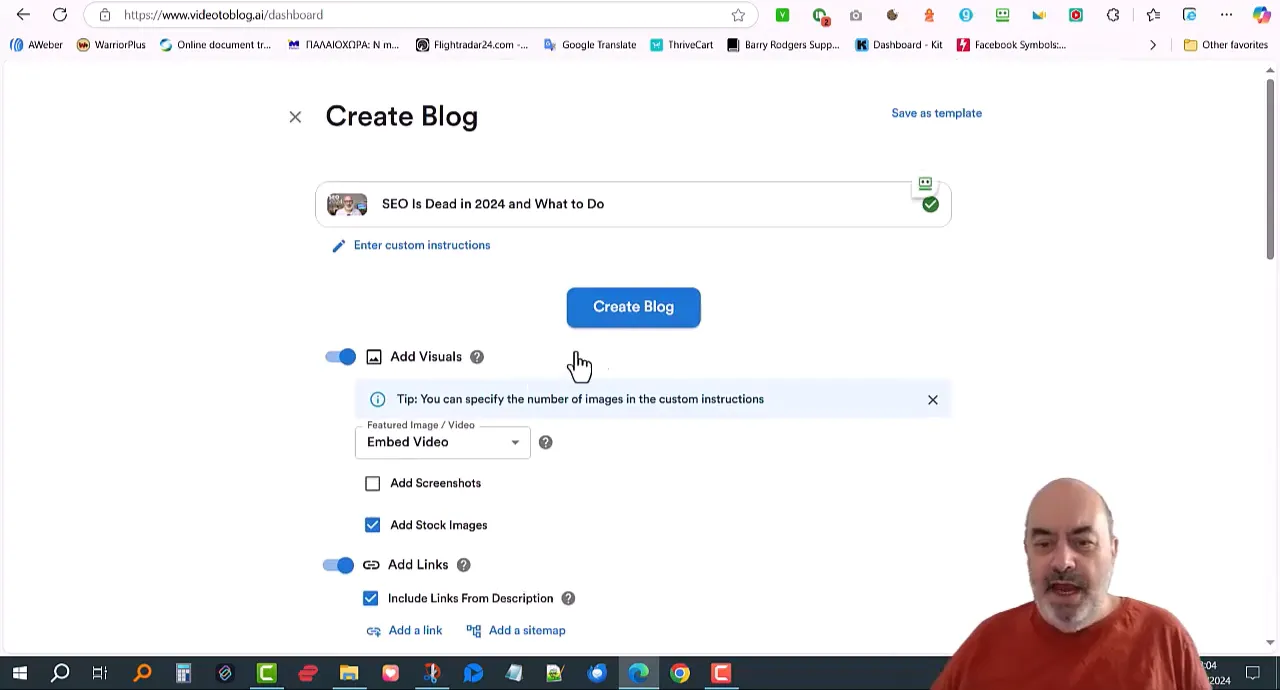
You can customize various (and numerous) elements during this process; however, it is essential to consider the implications of each choice.
You need to think about what sort of content you are creating. Is it going to be a pdf report? A blog post? A medium article? The video embed feature, for example, isn't going to work for a pdf.
In the end, it becomes pretty obvious what options you include based on the video you are working from (video screenshots are of no value if it is a "talking head" video for example) and the type and purpose of the content you want outputted.
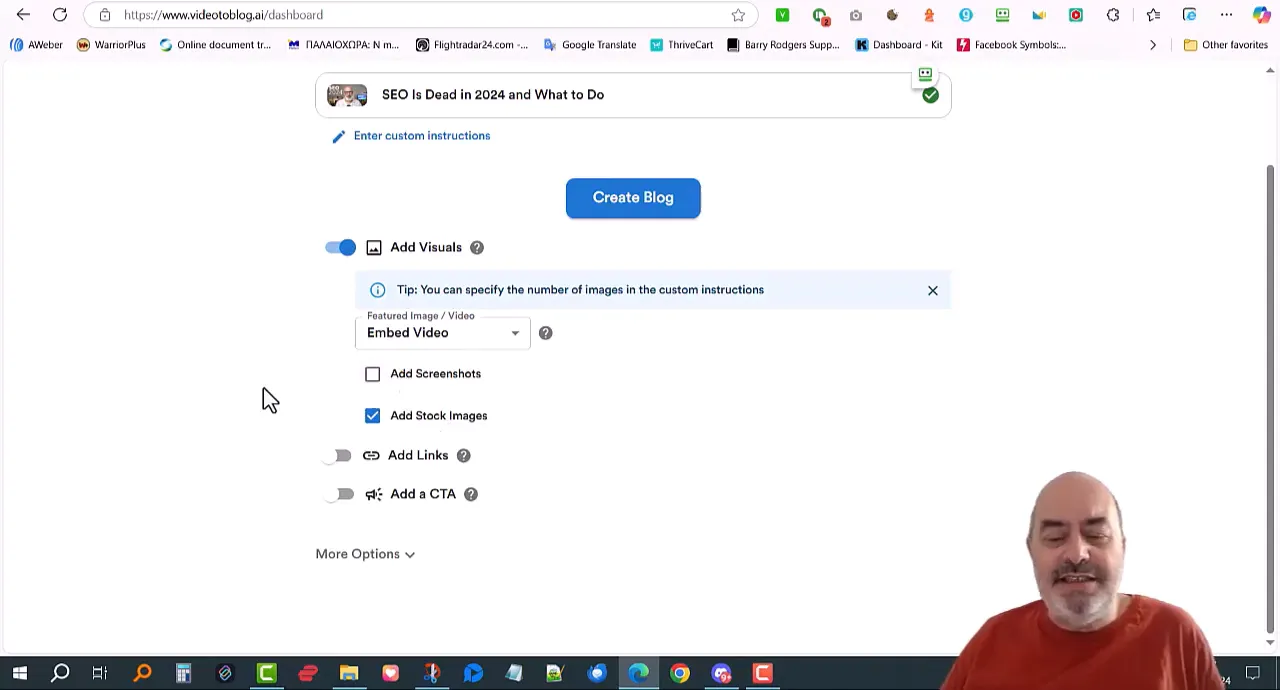
- Embedding the Video: Include the original video in your blog post to provide context and credit to the creator.
- Adding Visuals: Incorporate stock images or screenshots from the video to enhance the visual appeal of your blog.
- Including Links: Add relevant links from the video description to guide readers to additional resources.
- Call to Action: Encourage readers to take specific actions, such as subscribing, visiting your website, or checking out other content.
The structure provided by the software based on your choices is then shaped into a coherent article, ready for you to read through, edit where you want to and publish.
🖼️ Adding Visuals and Links
The software will add the elements you have chosen automatically. You are then able to read through the article and decide if the images it has inserted are relevant.
For instance, if it adds an image in the "call to action" section, it may have taken that phrase and added an image of someone using a telephone. Clearly this just the AI trying to find something relevant but it is inappropriate. Luckily it's very easy to click on the image and search and insert something more relevant (more about checking and tweaking is covered later on).
You can even have it generate an AI image if you can't find a suitable one in the stock images.
Further, if you have links to external resources (such as an article you mentioned in your video, or a tool you talked about), putting them in the post increases the value of your blog. Readers enjoy the added resources and having more information can improve the overall experience. It could even keep them on your site longer.
⚙️ Configuring Blog Settings
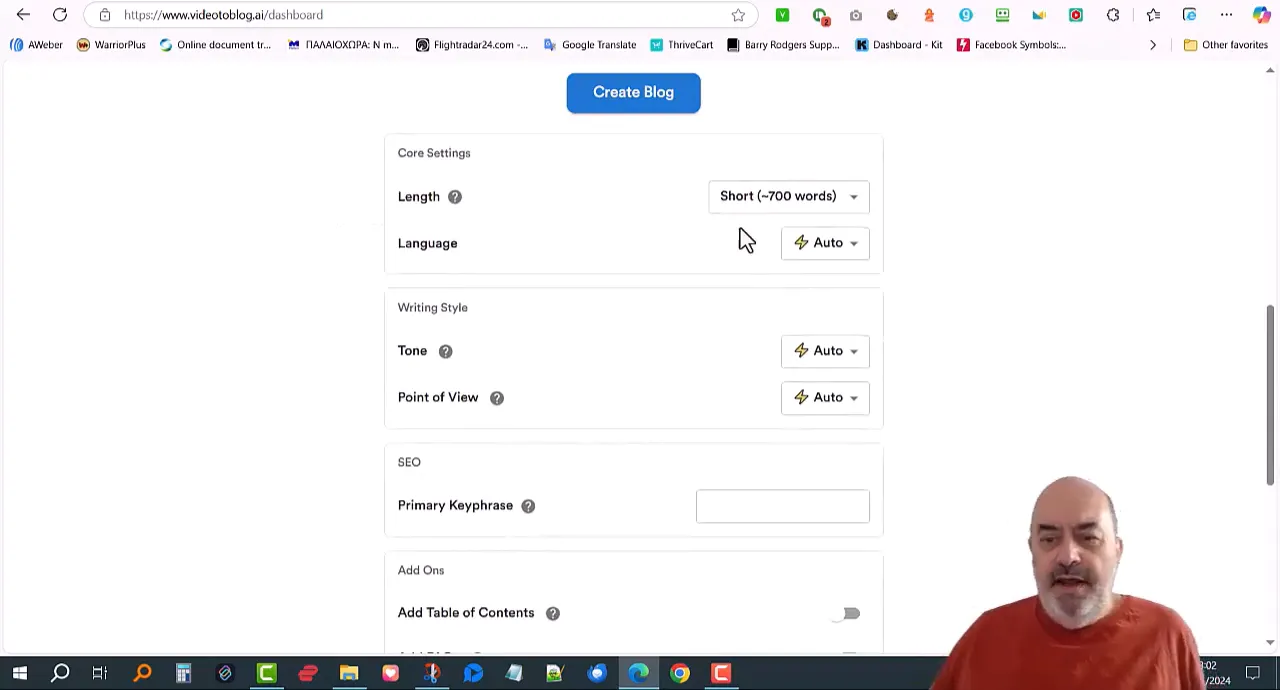
Once you’ve set your parameters right (how many words long should the blog be, does it need to be funny, how many sub-paragraphs and illustrations should it contain), Video To Blog will whip you up an article to suit your needs and the needs of the people reading it.
- Length: Decide whether you want a short summary or an in-depth analysis. For comprehensive videos, a longer format may be more suitable.
- Tone: Select a tone that aligns with your brand's voice. Options typically include formal, conversational, or informative.
- Structure: Choose the type of article format that best fits your content, such as a listicle, product review, or guide.
These settings (which) help to tailor final output to your specific audience; ensuring that content resonates with readers. However, this process requires careful consideration of various factors, because understanding your audience is crucial. Although the adjustments may seem minor, they can significantly impact engagement levels. But, it is essential to remember that each audience is unique, which necessitates a thoughtful approach to content creation.
🚀 Generating the Blog Post
Once you’ve set the parameters, you’re at the point to create a blog post from the video. Click the Generate button and the software automatically grabs the frames from the video and drafts the post based on the parameters you’ve determined. This is one of the most powerful features of the software, allowing you to automate this process.
Once you create the post, go through the draft and make sure it sounds logical, fluid and enjoyable to read. At this stage, the AI text might need minor tweaks to make the style matches yours or to inject your own knowledge or opinions.
✅ Reviewing the Final Output
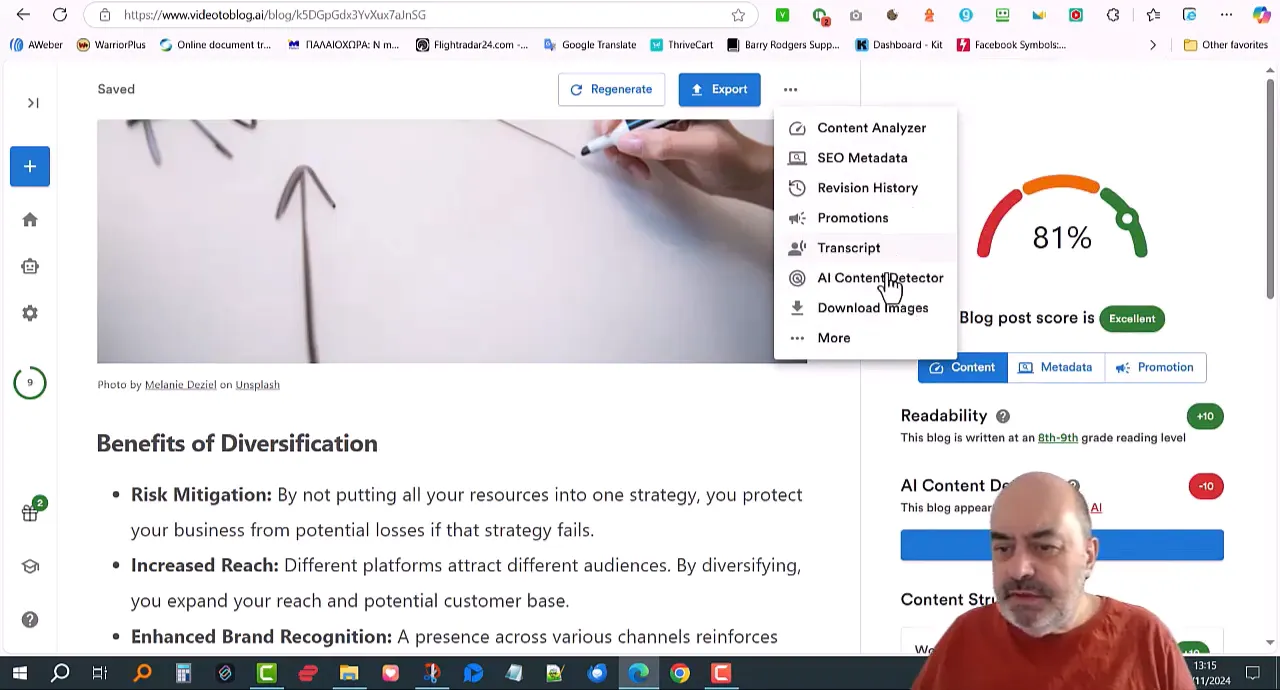
When you’re done with your draft, review the result. Look for mistakes, clumsy phrasing or AI hallucinations. If the AI is ‘good enough’, it probably will give you a decent first pass, but the onus is still on the human being.
Check the following:
- Content Accuracy: Ensure that the information presented is correct and reflects the original video.
- Flow and Readability: The text should be easy to read and logically structured. Adjust headings and paragraphs as necessary.
- Visuals and Links: Verify that all visuals are relevant and that links are functioning correctly.
Investing time (and effort) into refining your post will yield a polished, professional blog article that engages readers. However, some might overlook this crucial step (because they are eager to publish). Although a hasty approach may seem appealing, it often lacks depth and your own "voice". Your audience will spot this from a mile off.
📤 Exporting Your Blog Post
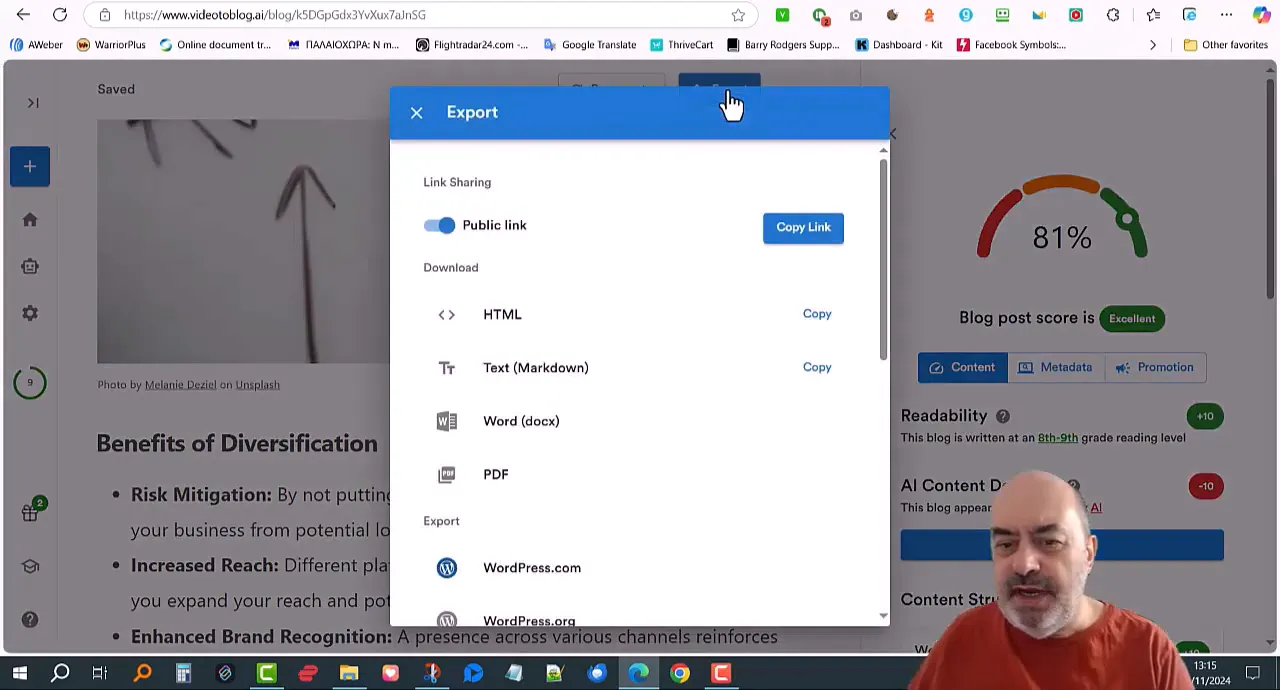
The final step is to export your finished blog post. Video To Blog allows you to export in a variety of formats: HTML, Markdown, and PDF. Choose the format most conducive to publishing.
For instance, HTML exports are optimal for sending directly to your website; a PDF format makes sharing as a downloadable file a snap; you can even publish directly to services like WordPress, Medium or Blogger, sidestepping the download step entirely and smoothing out your pipeline.
📝 Conclusion and Recommendations
Finally, I think that Video To Blog is really a great application for the content creators who want to work smarter not harder. Video to Blog has enabled creators to convert video content into blogs in a structured way. It is easy to use and offers great functionality. In my opinion, it is the trend of the future.
Here are some recommendations:
- Experiment with different types of videos to see what resonates best with your audience.
- Utilize the software's features to optimize your content for SEO, enhancing visibility.
- Regularly review and update your blog settings to align with your evolving content strategy.
This is how you can use Video To Blog not only to save a lot of time, but also to build a fast-growing traffic and engagement monetised content.